Introduction to Automotive Film for Homeowners
Welcome to our comprehensive guide on applying automotive film at home in Naples, Idaho. Whether you're aiming to protect your vehicle's paint, enhance its appearance, or increase its resale value, automotive film is a versatile solution. This guide is designed for homeowners who are new to automotive film but eager to tackle the installation themselves.
Why Homeowners in Naples Should Consider Automotive Film
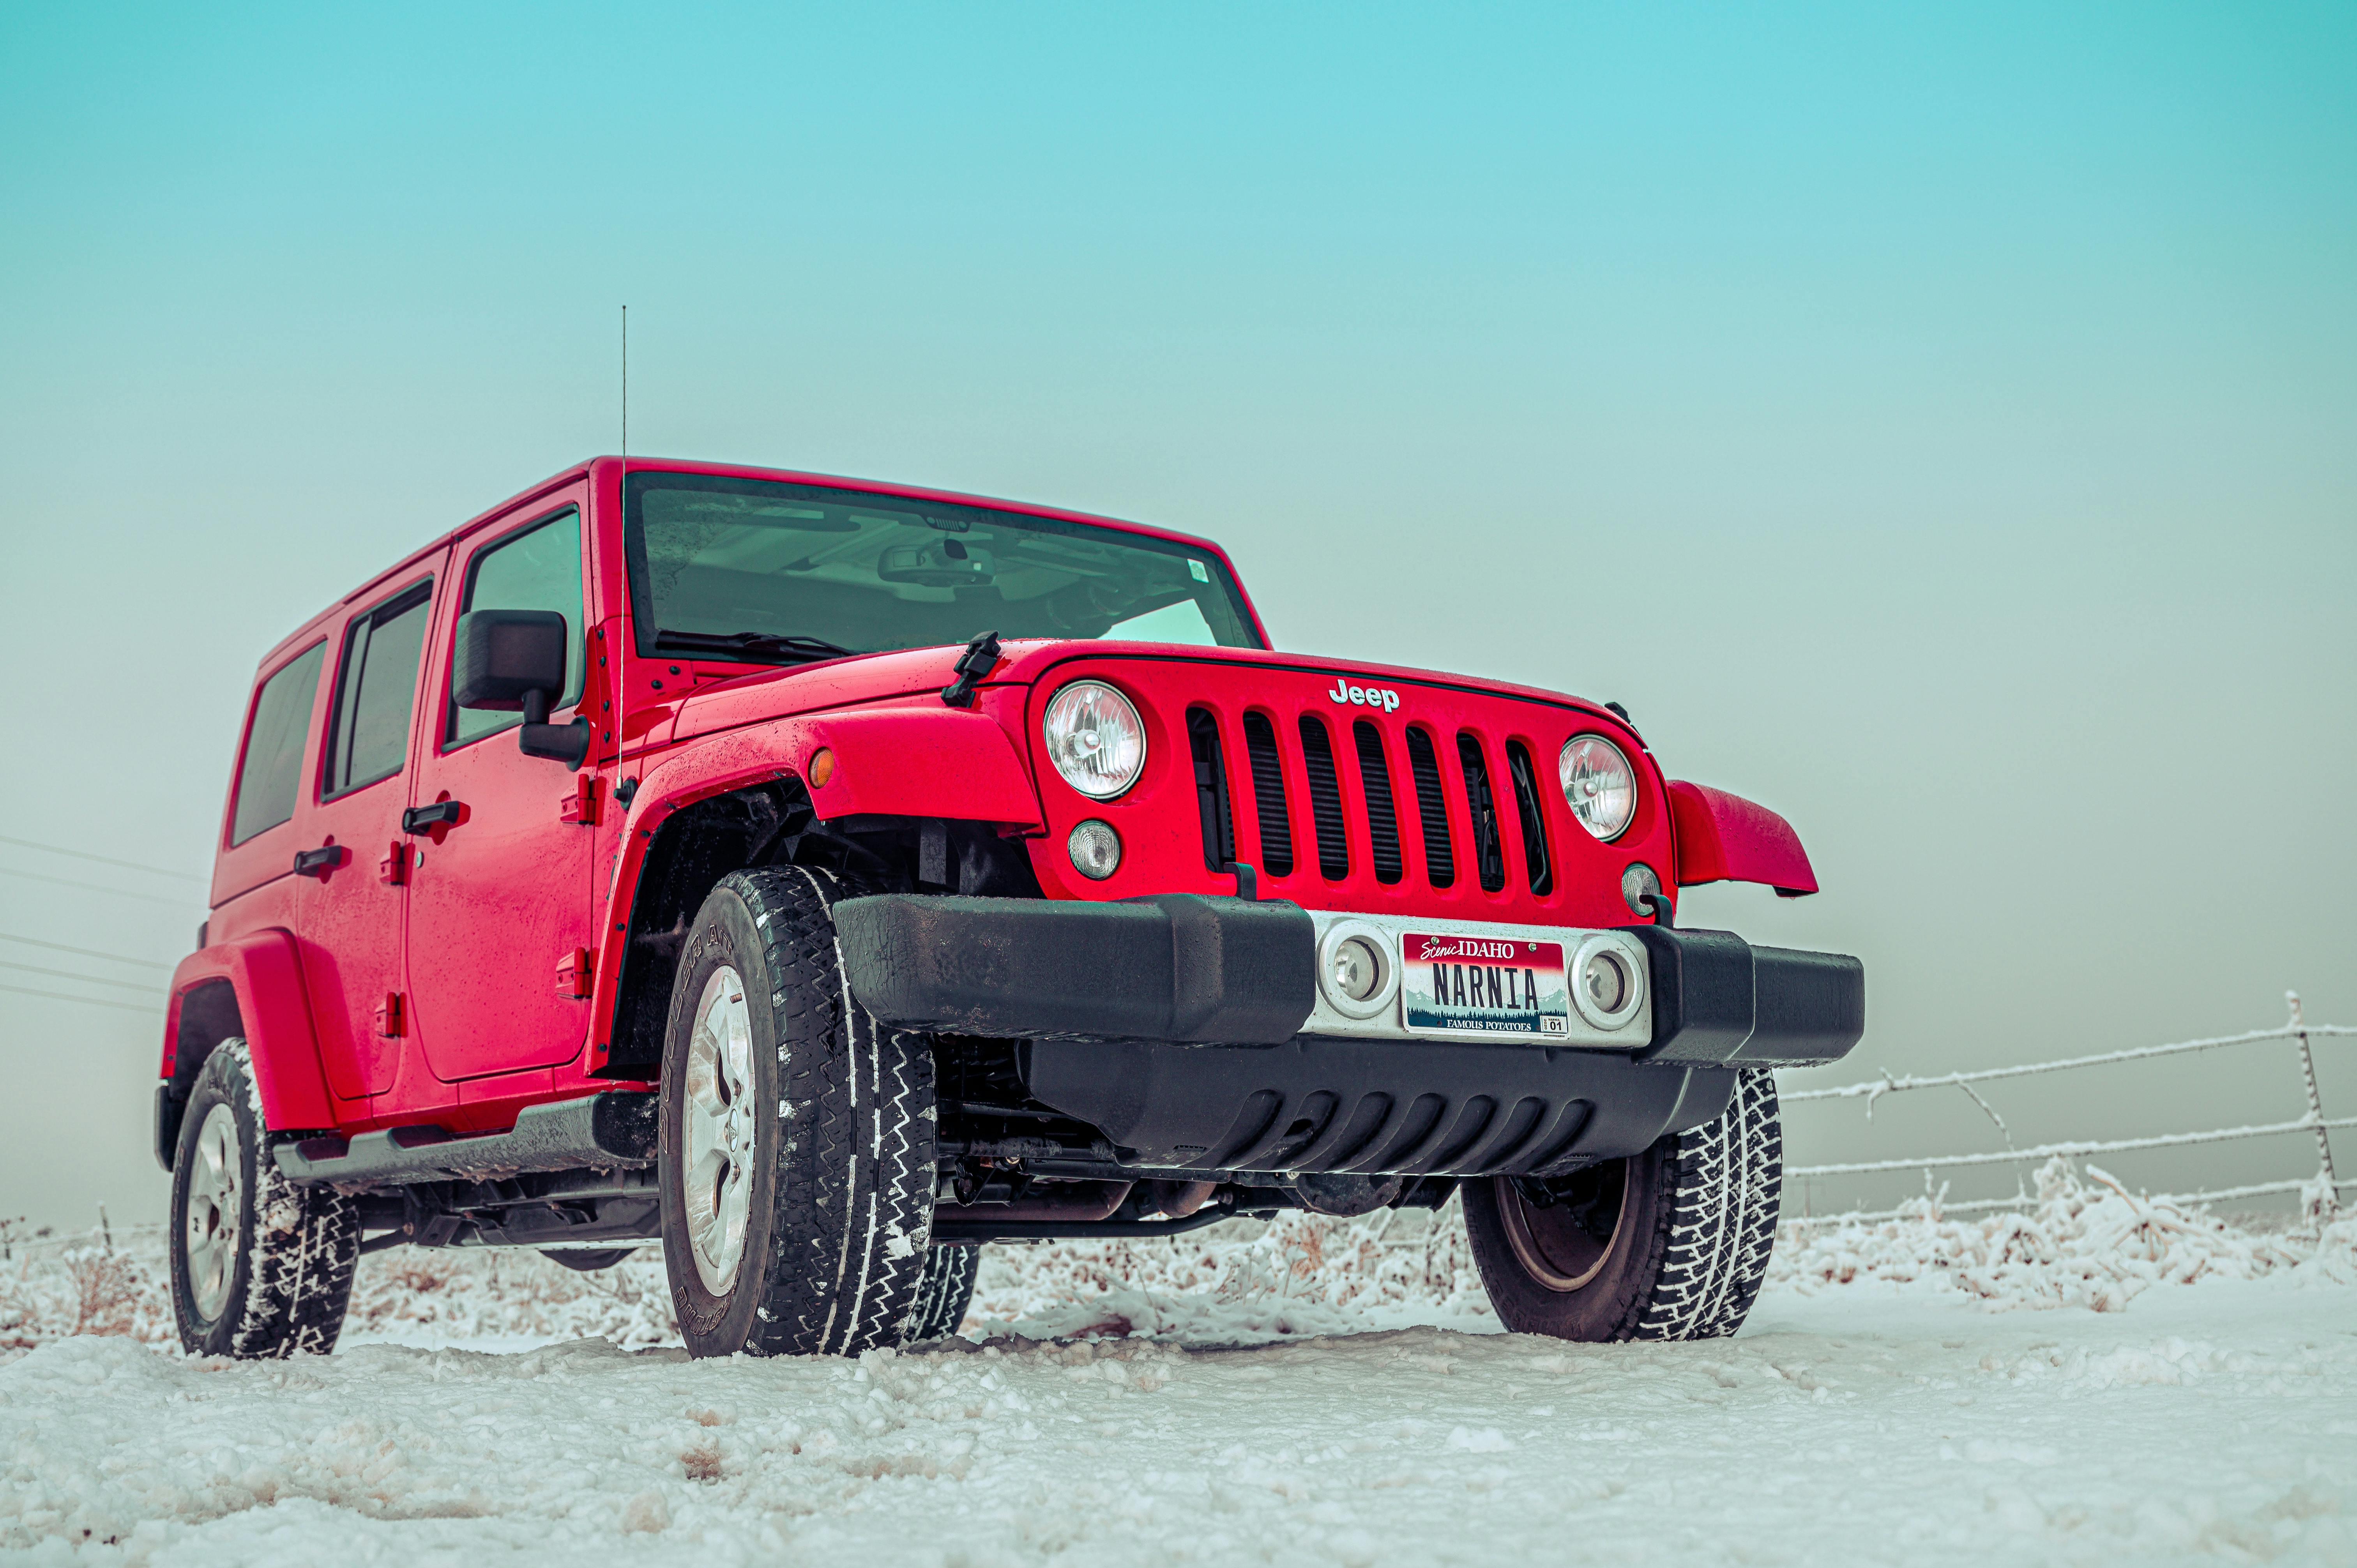
Nestled in the scenic landscapes of Idaho, Naples offers both beauty and challenges when it comes to maintaining a vehicle. The local climate, with its seasonal shifts from sunny days to snowy winters, can take a toll on your car's exterior. Automotive film provides a protective barrier against UV rays, scratches, and road debris, making it an essential addition for vehicle owners in the area.
Getting Started: Tools and Materials You'll Need
Before diving into the application process, gather the necessary tools and materials to ensure a smooth installation:
- Automotive Film: Choose a high-quality film suitable for your vehicle and the Idaho climate.
- Application Solution: A mix of water and soap or a store-bought solution helps with application.
- Squeegee: Essential for removing bubbles and ensuring a smooth finish.
- Cutter or Razor Blade: For trimming excess film.
- Lint-Free Cloths: To clean and dry the surface.
Step-by-Step Guide to Applying Automotive Film
Step 1: Prepare Your Workspace
Choose a clean, dust-free environment such as a garage. Ensure the temperature is between 60°F and 80°F for optimal film adhesion.
Step 2: Clean the Vehicle Surface
Thoroughly wash and dry your vehicle to remove any dirt, grease, or debris. Use a lint-free cloth to avoid leaving fibers on the surface.
Step 3: Measure and Cut the Film
Measure the area you plan to cover and cut the film to size, leaving a little extra to trim after application.
Step 4: Apply the Application Solution
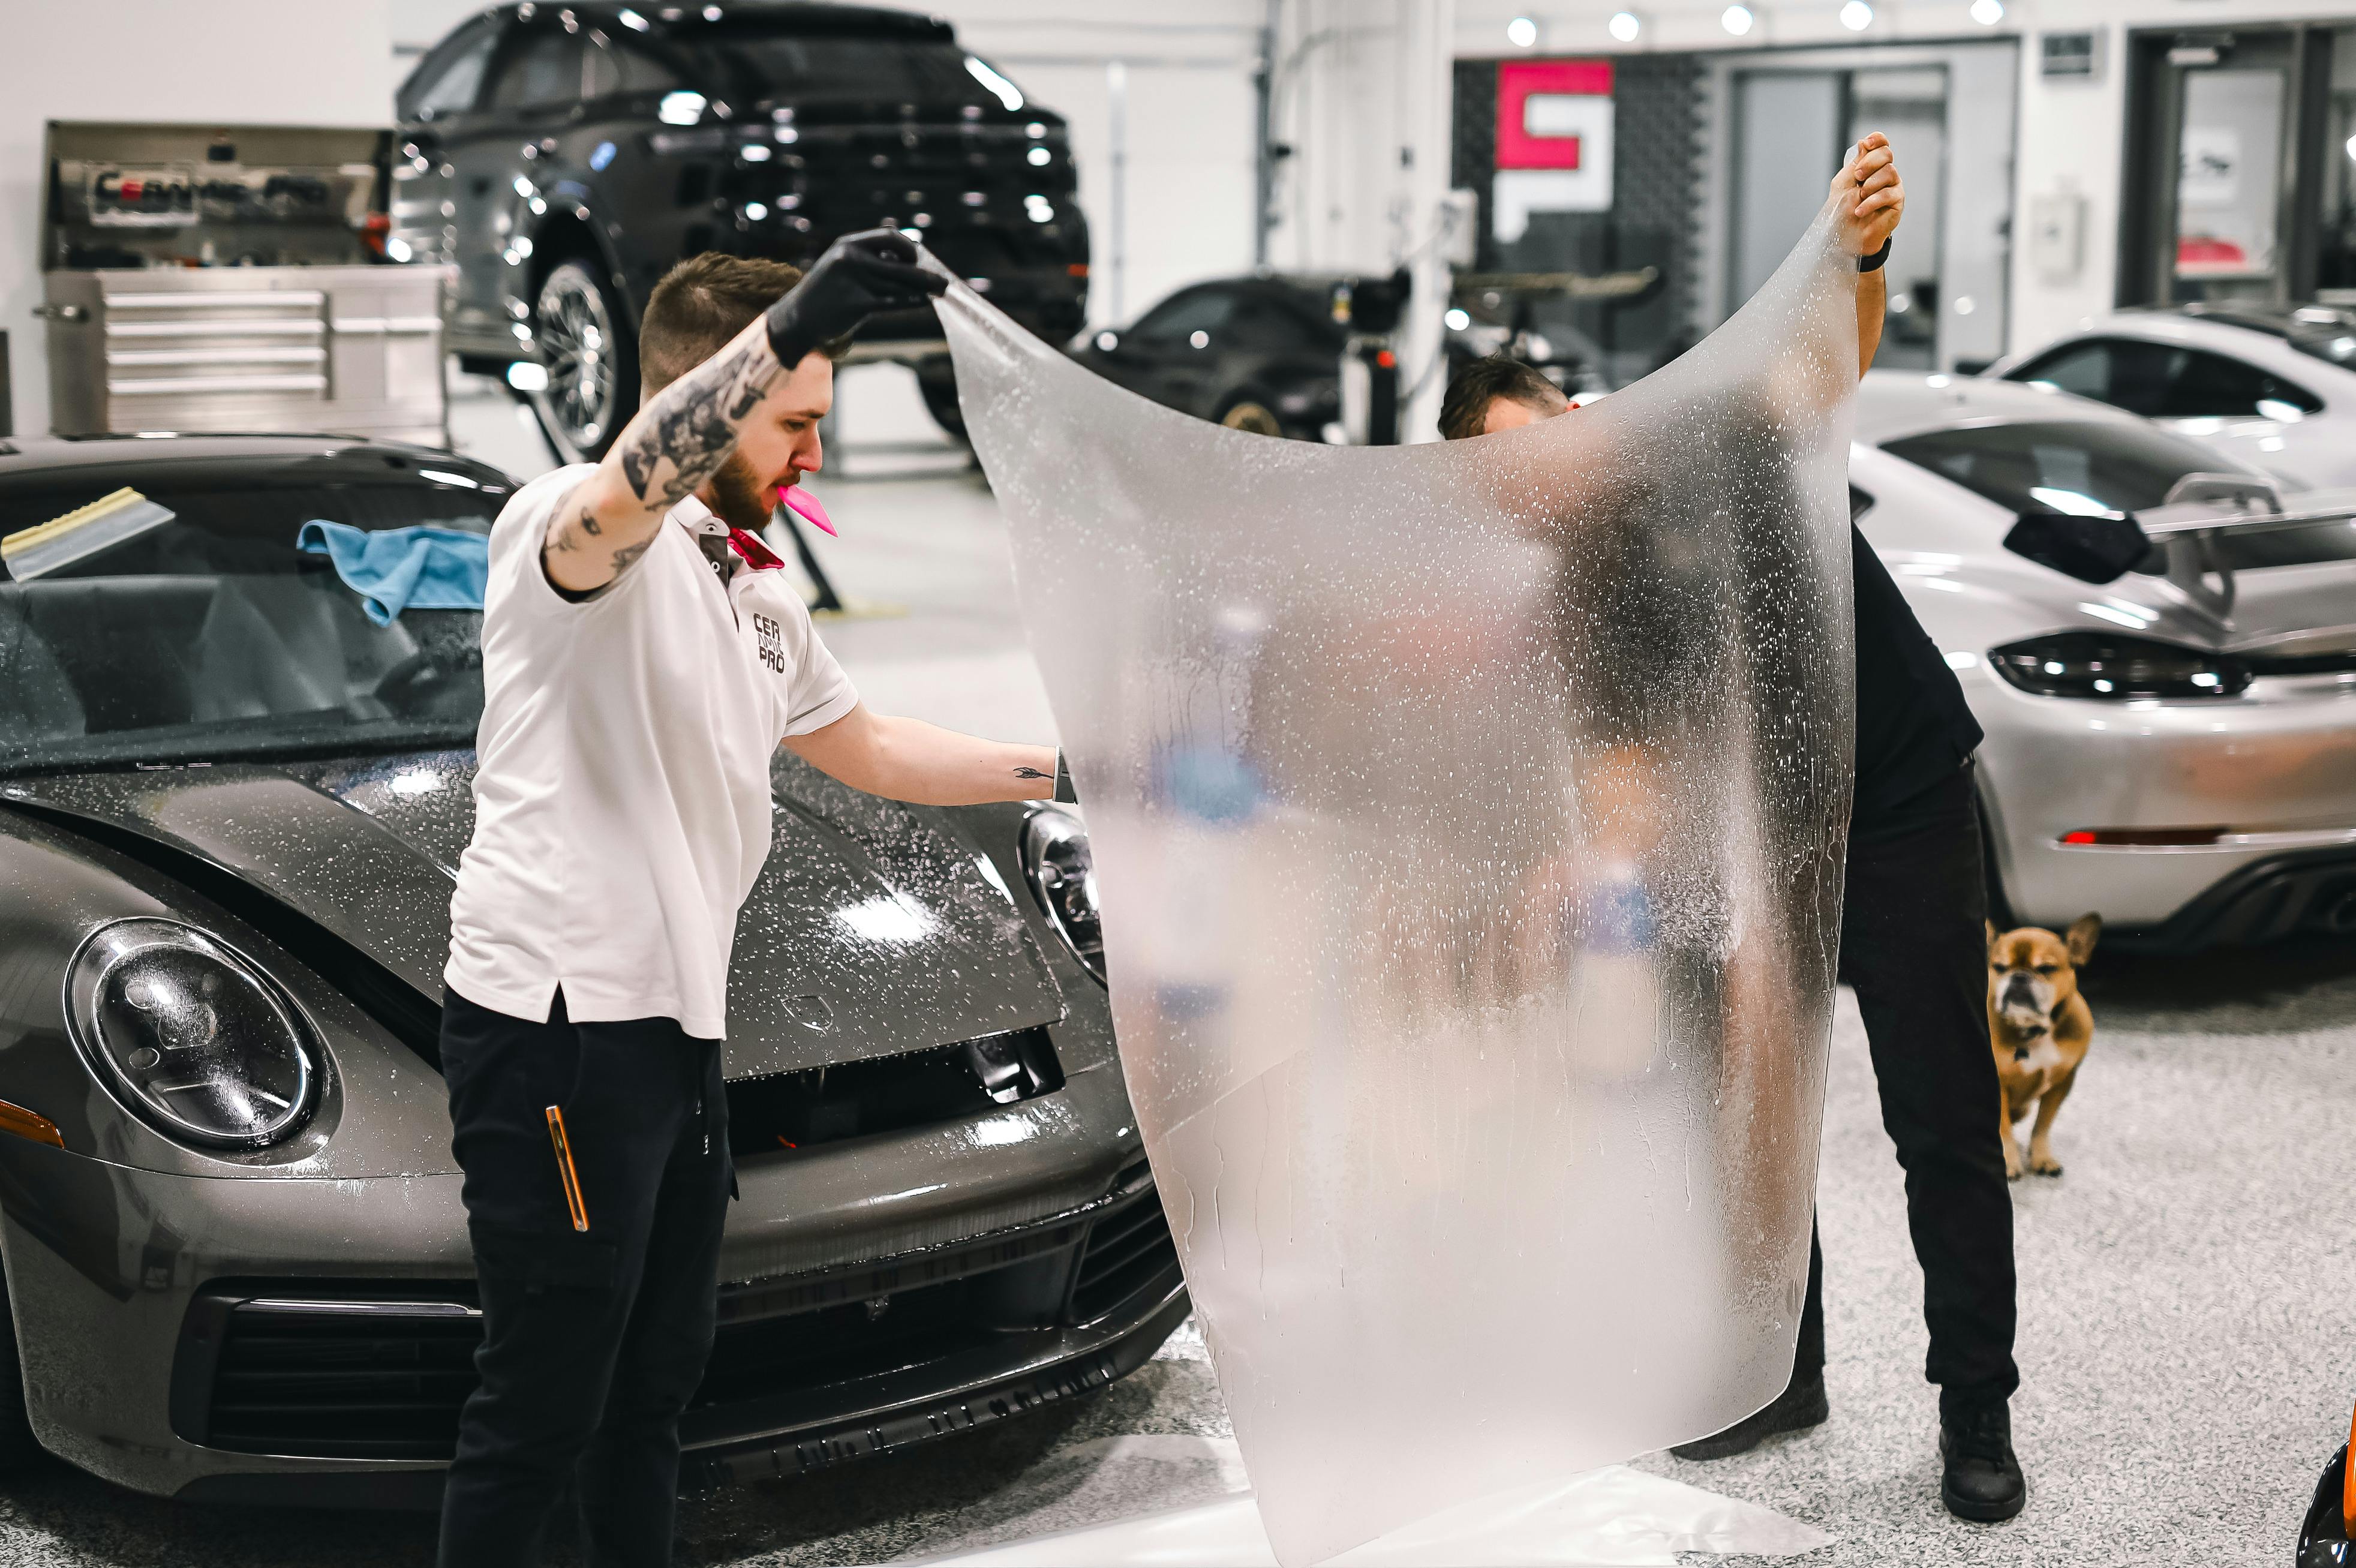
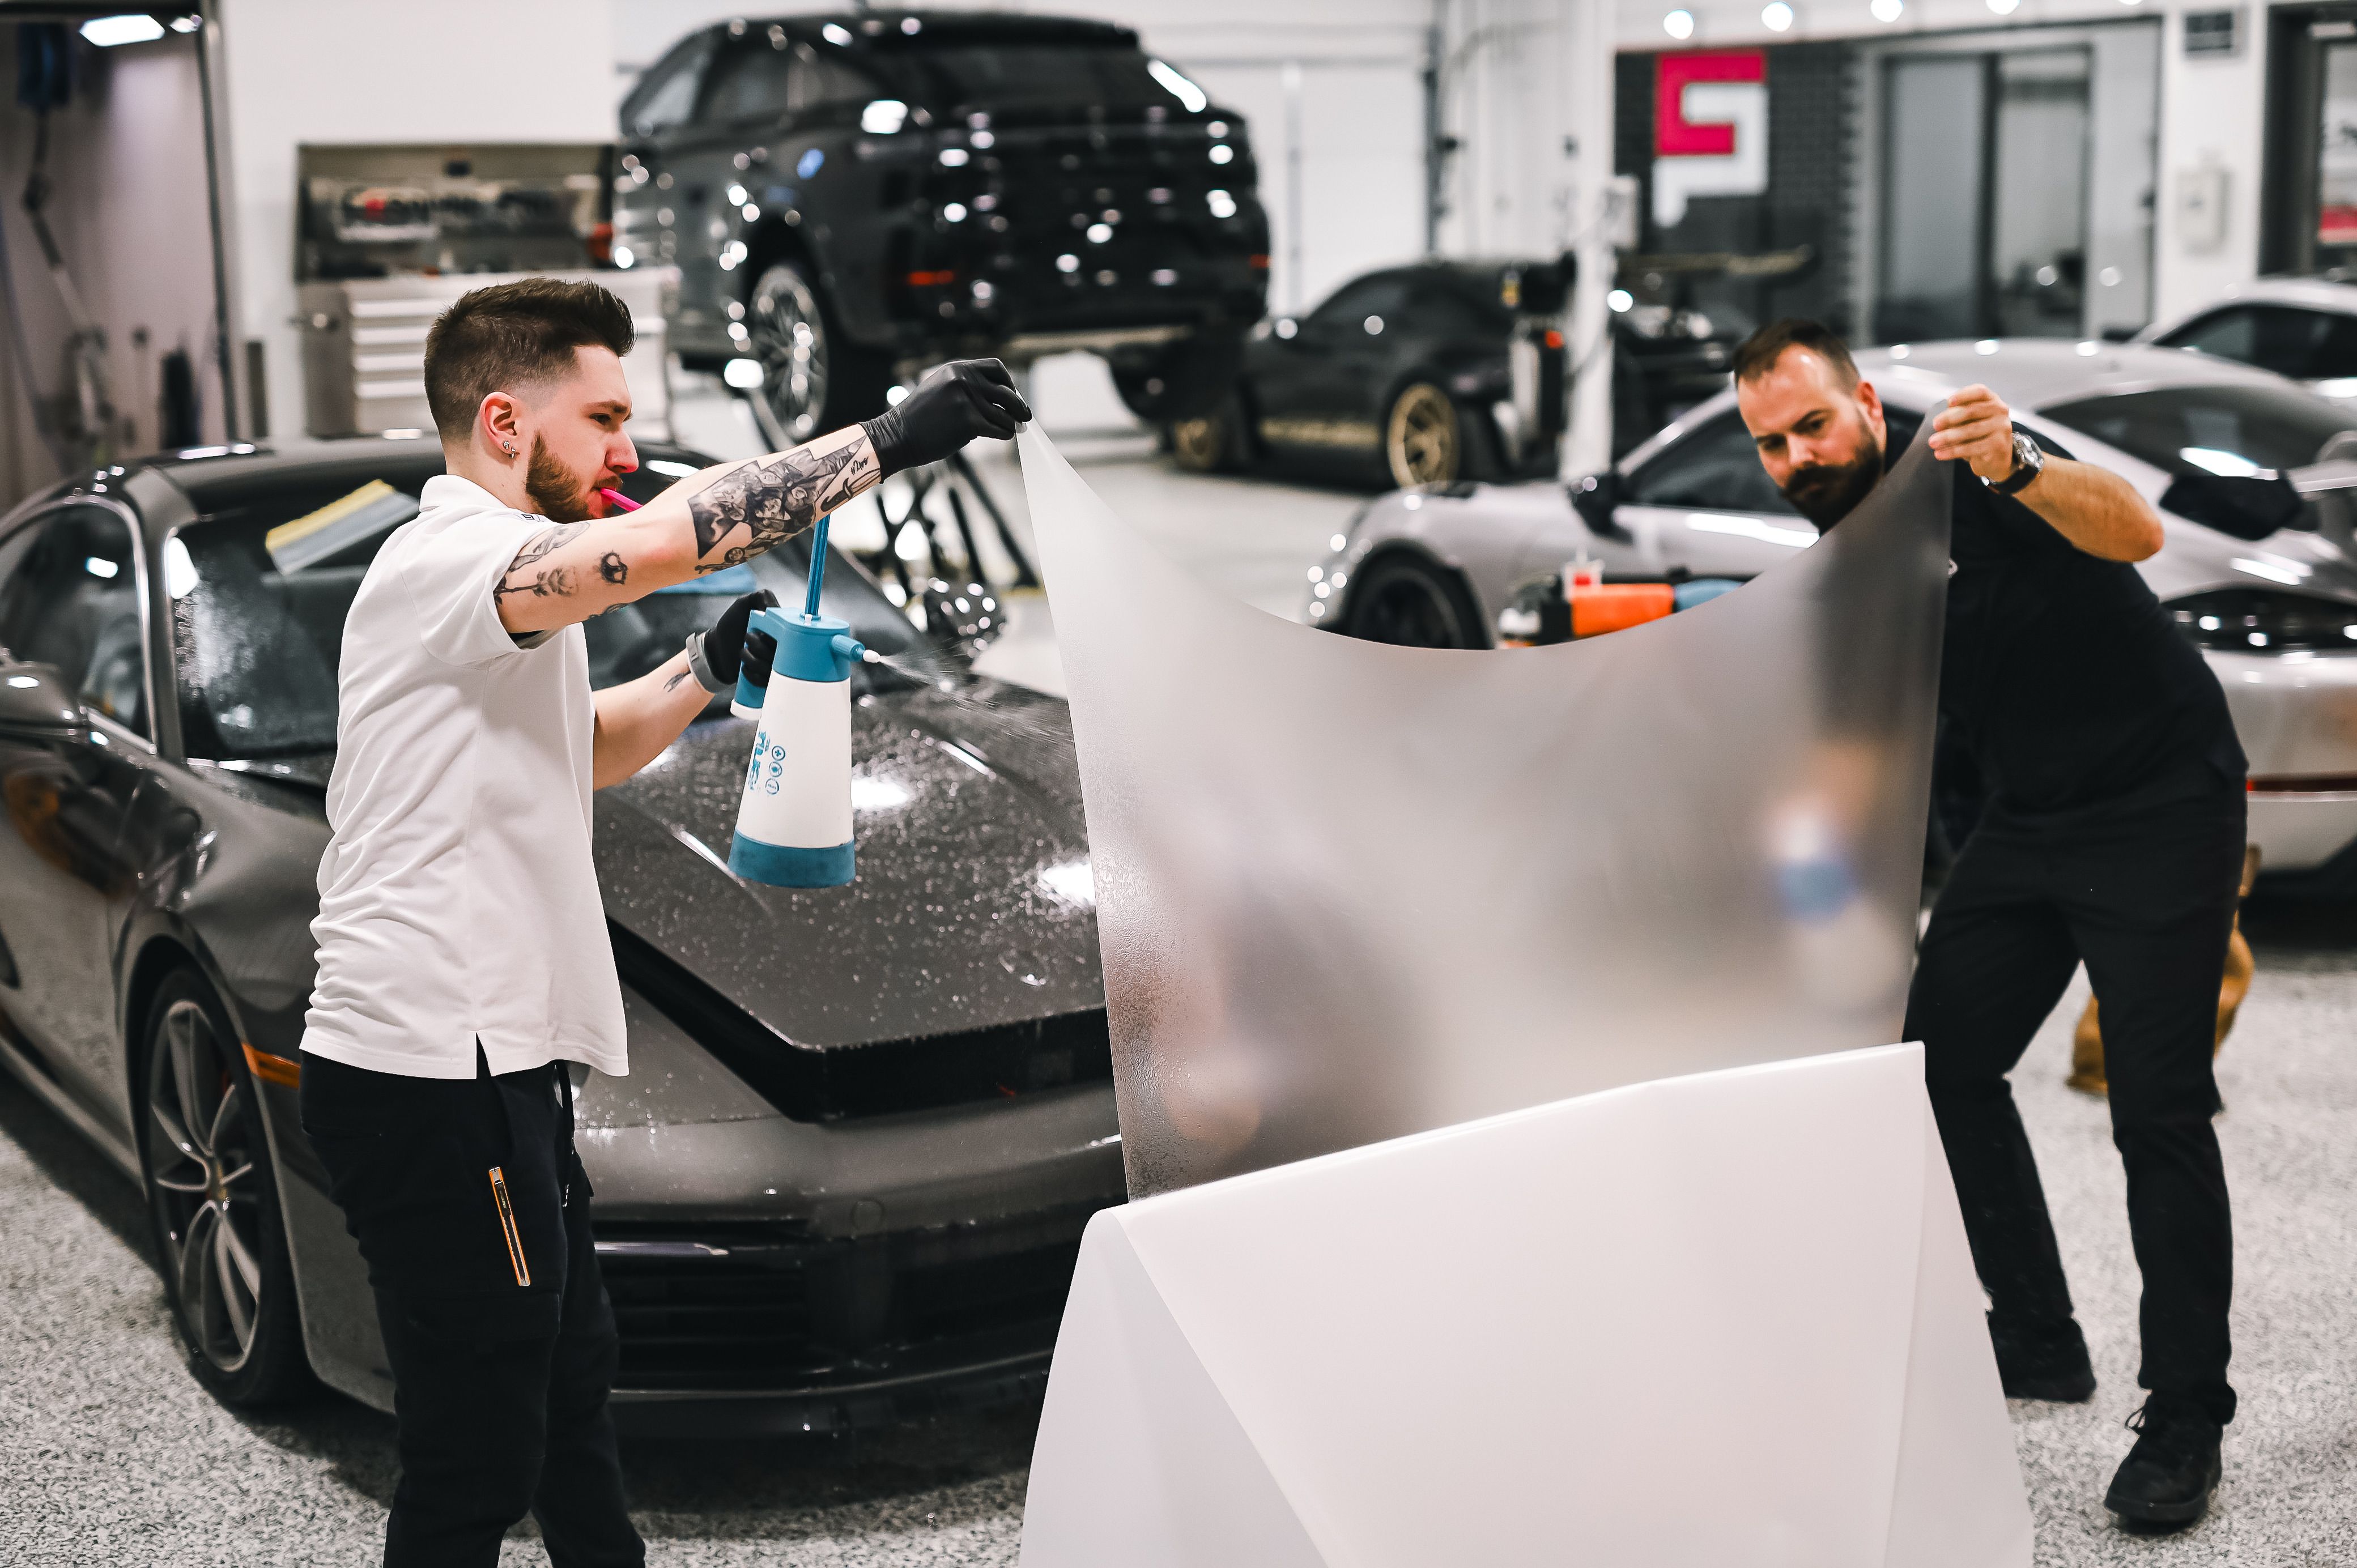
Spray the application solution generously on the vehicle surface and the adhesive side of the film. This helps position the film accurately.
Step 5: Position the Film
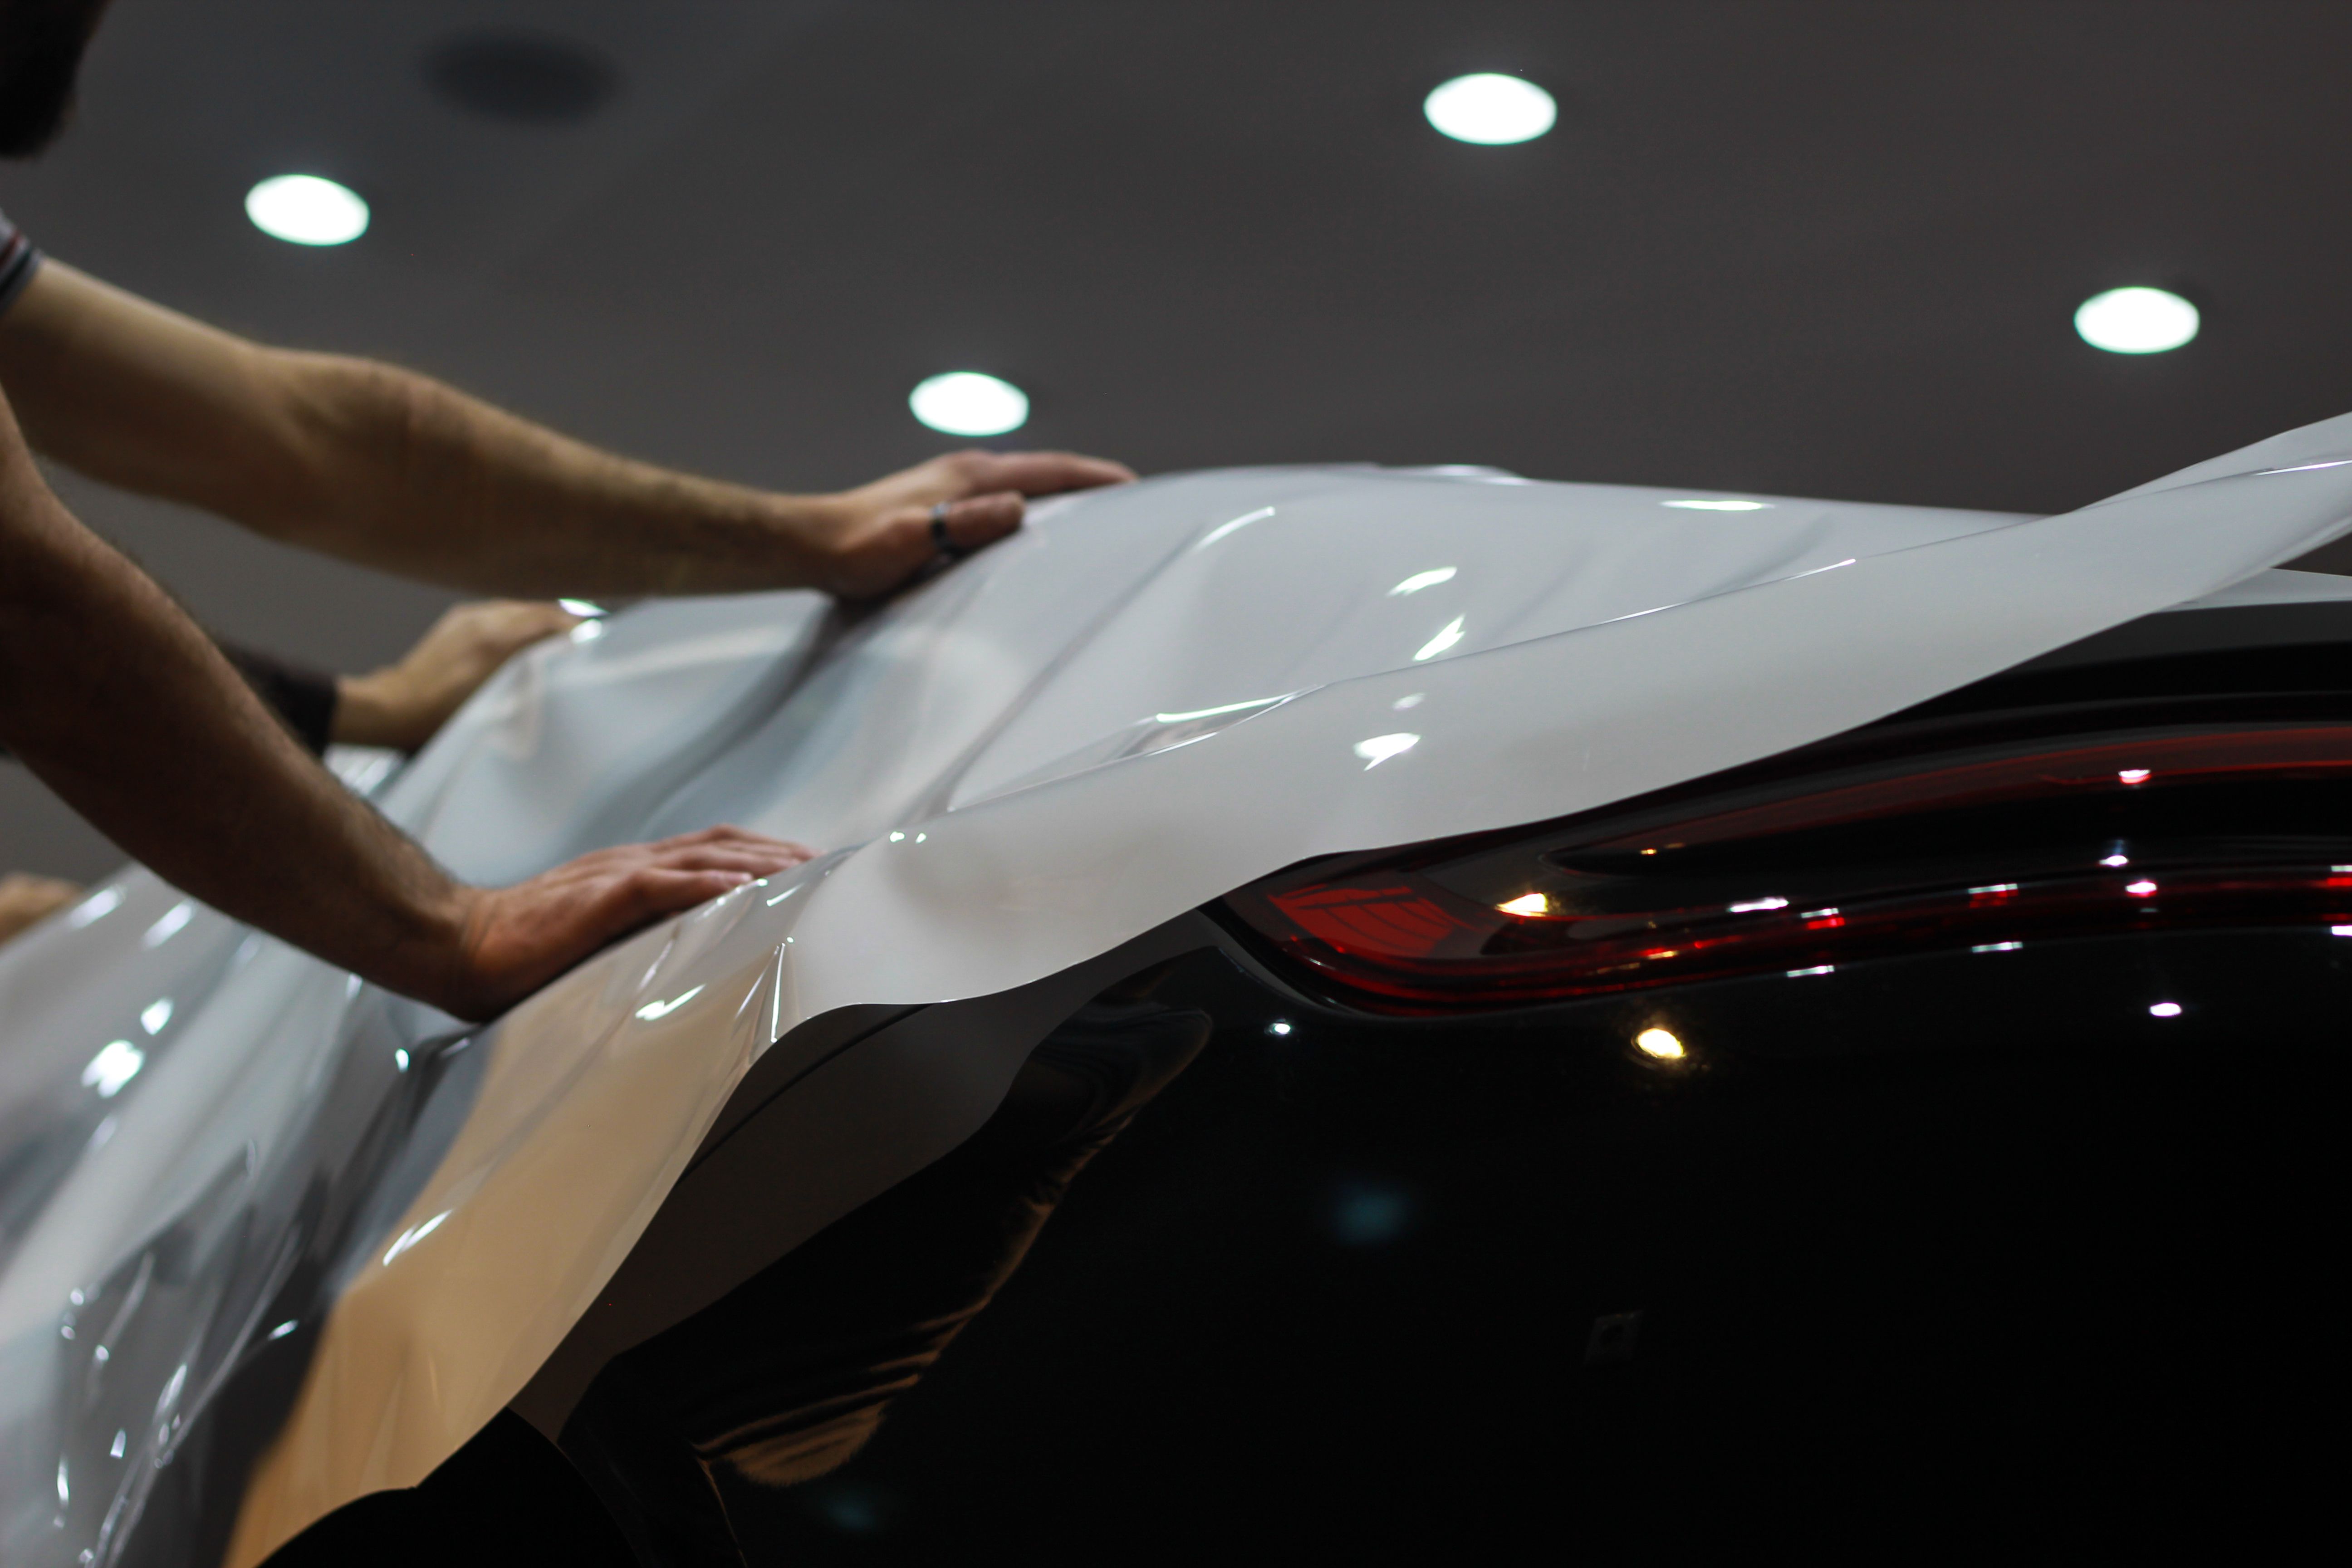

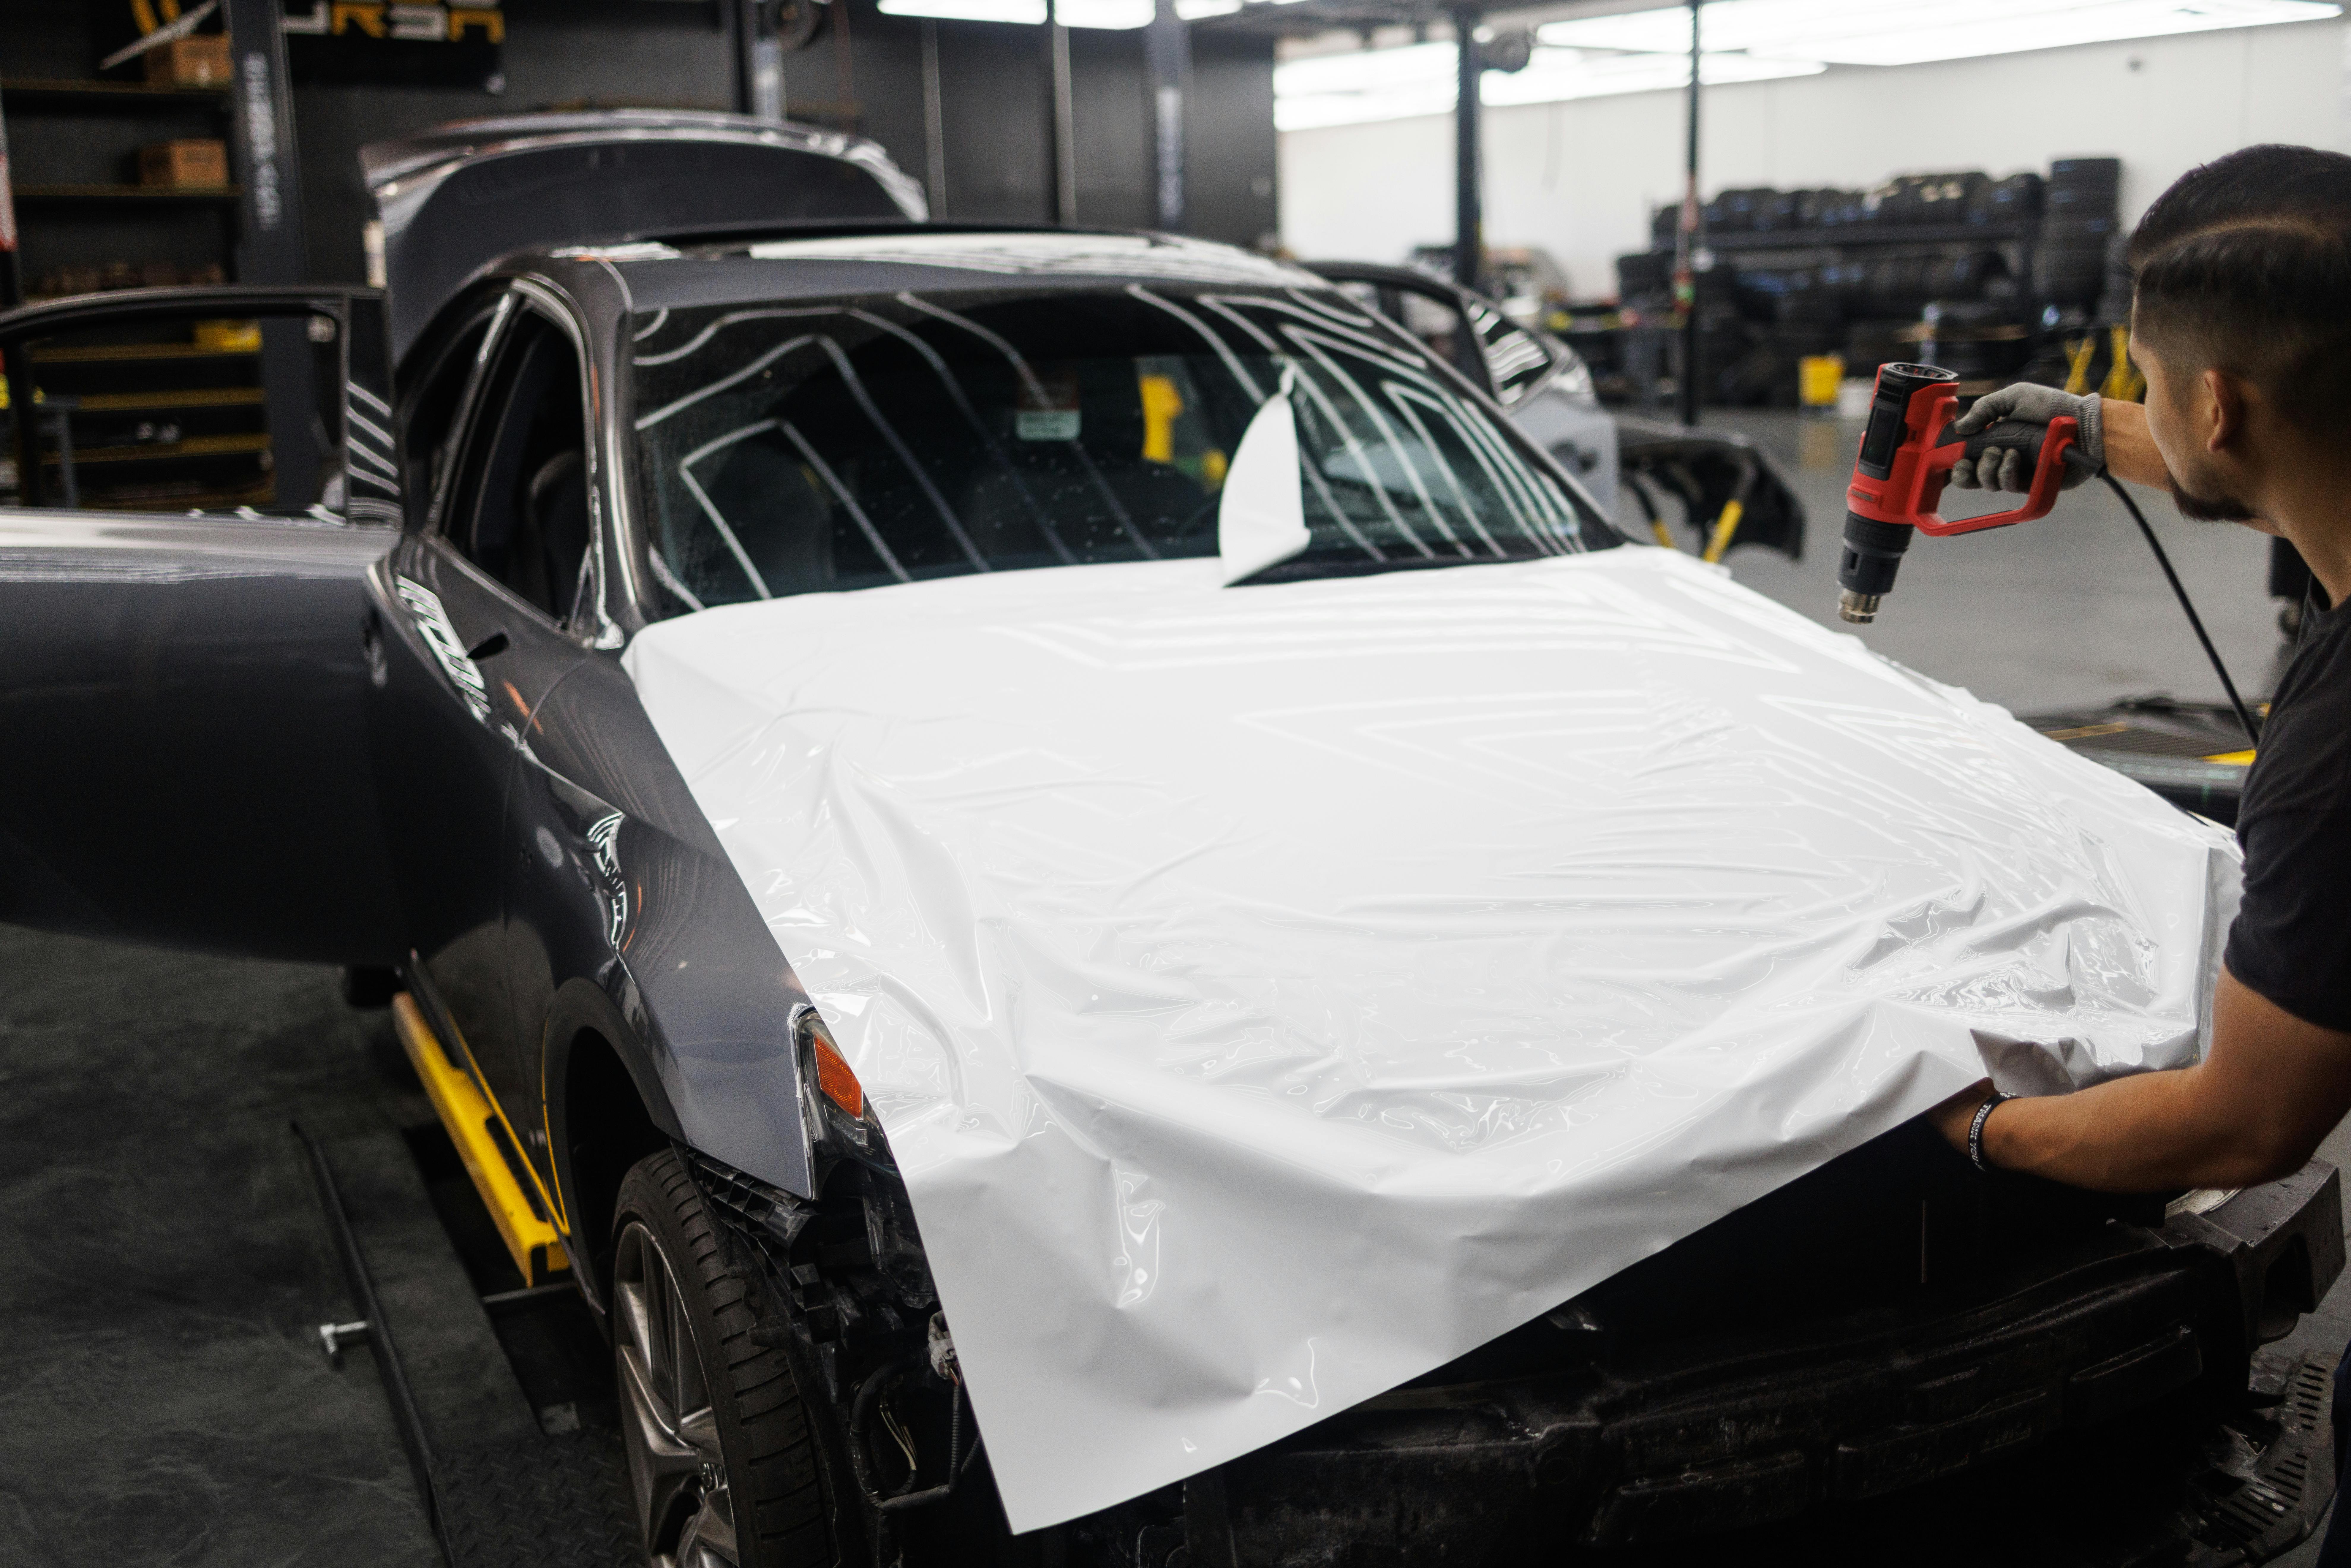
Carefully place the film on the vehicle surface. Adjust it as needed until it's perfectly aligned.
Step 6: Secure the Film with a Squeegee

Start from the center and work your way to the edges, using a squeegee to push out air bubbles and excess solution. Be gentle to avoid tearing the film.
Step 7: Trim and Finish
Once the film is securely in place, use a cutter to trim away any excess material. Inspect your work to ensure there are no bubbles and that the edges are sealed.
Common Challenges and Solutions
While applying automotive film at home can be rewarding, it's not without its challenges. Here are some common issues you might encounter and how to resolve them:
- Bubbles: Reapply the application solution and use a squeegee to smooth out bubbles.
- Misalignment: Quickly lift the film, respray the solution, and reposition.

- Wrinkles: Apply heat gently with a hairdryer to stretch the film and smooth out wrinkles.
Aftercare Tips for Long-Lasting Results
To ensure your automotive film lasts, follow these aftercare tips:
- Avoid washing your vehicle for at least a week after application.
- Use a microfiber cloth when cleaning to prevent scratches.
- Regularly inspect the edges for any peeling and address promptly.
Conclusion
Applying automotive film yourself can be a satisfying project that enhances your vehicle's aesthetics and longevity. With the right tools and our step-by-step guide, Naples homeowners can achieve professional-looking results. If you have any questions or need expert advice, feel free to contact 4D Auto Wraps for assistance. Happy filming!
Remember, practice makes perfect. Each application will improve your skills, making future projects easier and more efficient. Enjoy the process and the protective benefits of your newly applied automotive film.